This page may contain affiliate links, see full disclosure here.
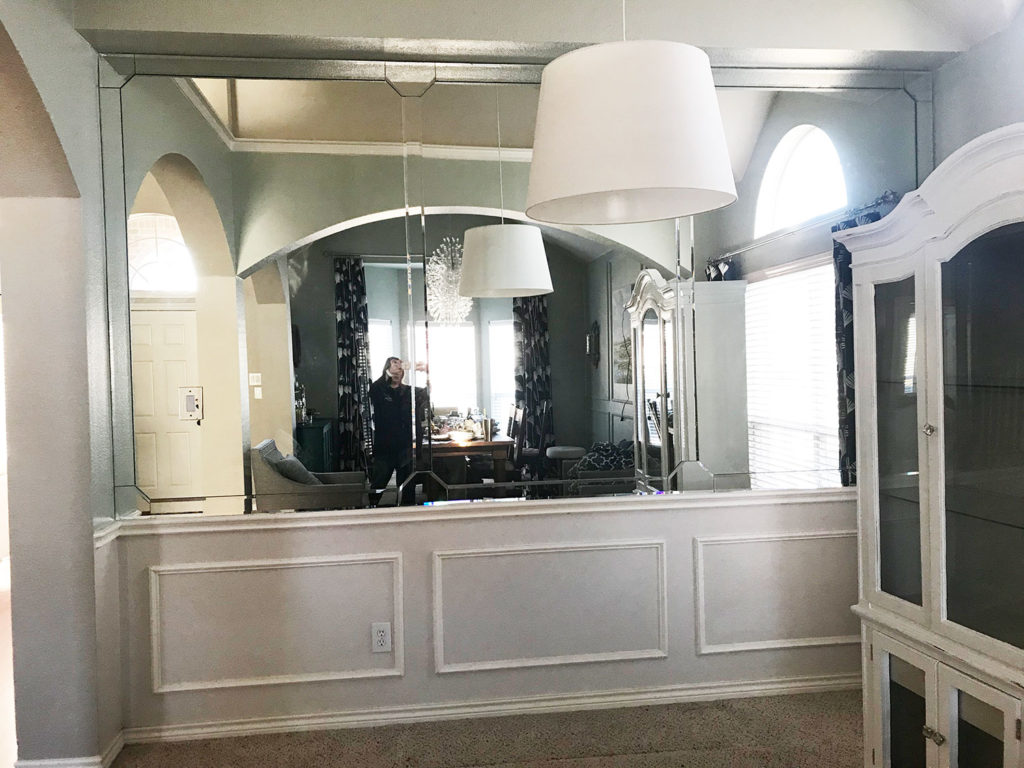
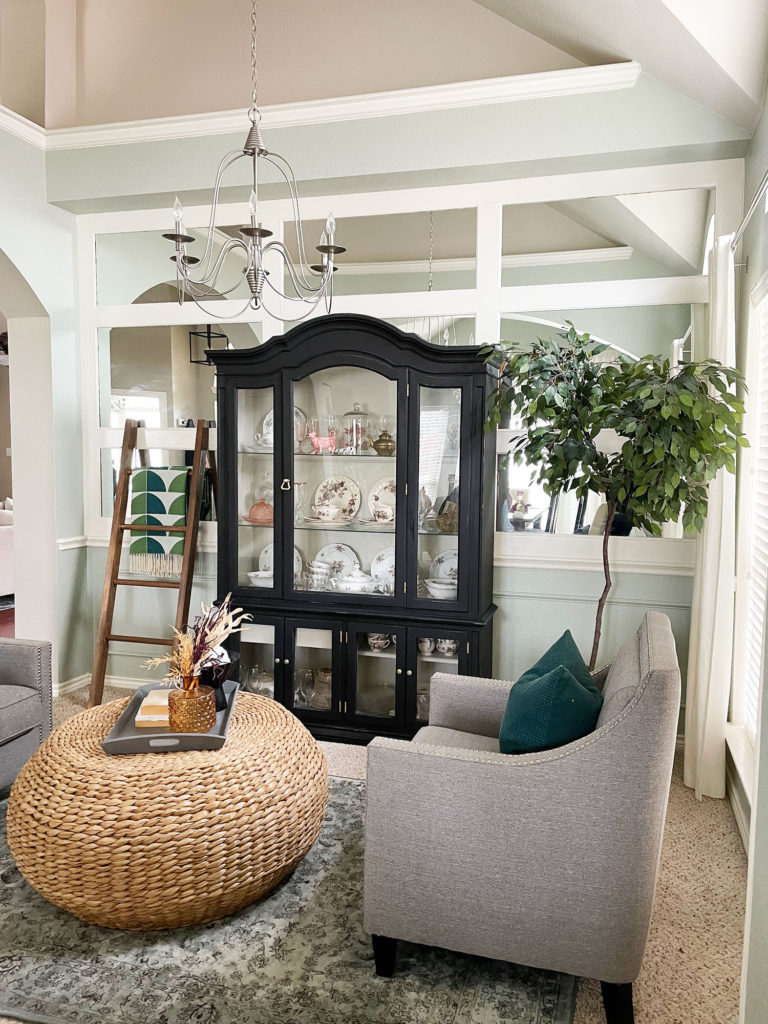
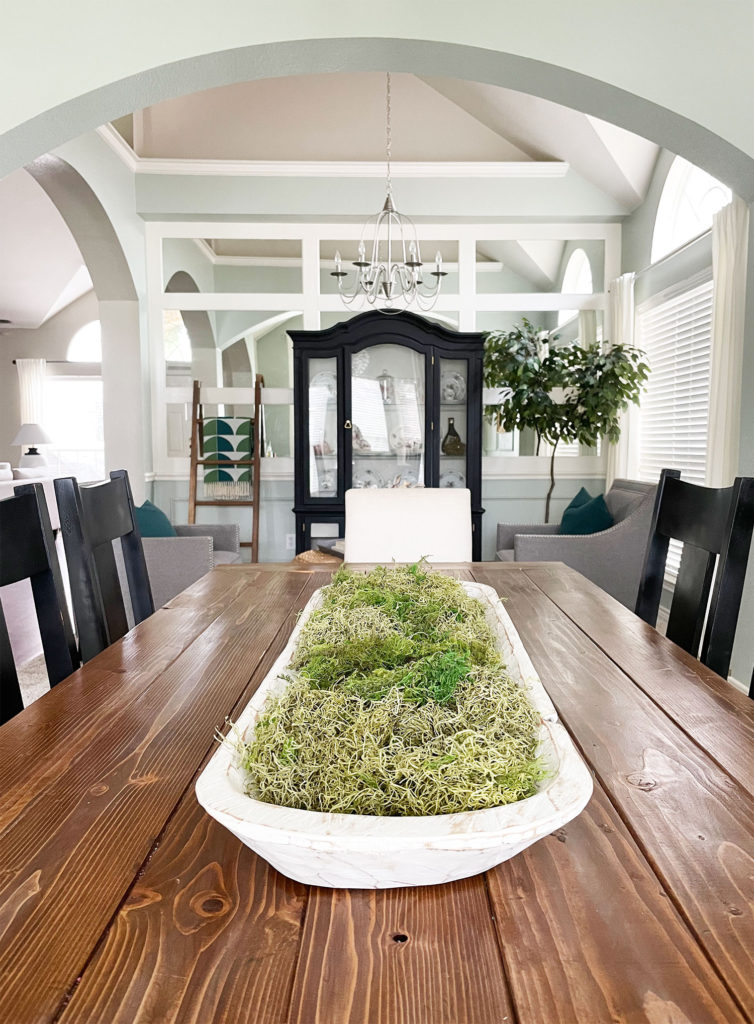
So a little back story on this room. I have lived in my house for almost 8 years and have tried numerous times to come up with a plan for my sitting room since day one. It’s technically the dining room, but I flip flopped the spaces because it made more sense to have a large dining room table for entertaining than a large sitting space no one would probably use.
So hours, then days, then years turned into my Sitting Room Makeover: My Mirror Wall Upgrade! Shall we began…
I initially wanted to tear down the mirror and maybe install wallpaper. However, I’ve spent thousands of dollars removing the old dated wallpaper in my kitchen and bathrooms so I was VERY hesitant to go down that path. Especially when you open up a wall do you ever really know what’s underneath/behind it all?!! So many, many years went by…
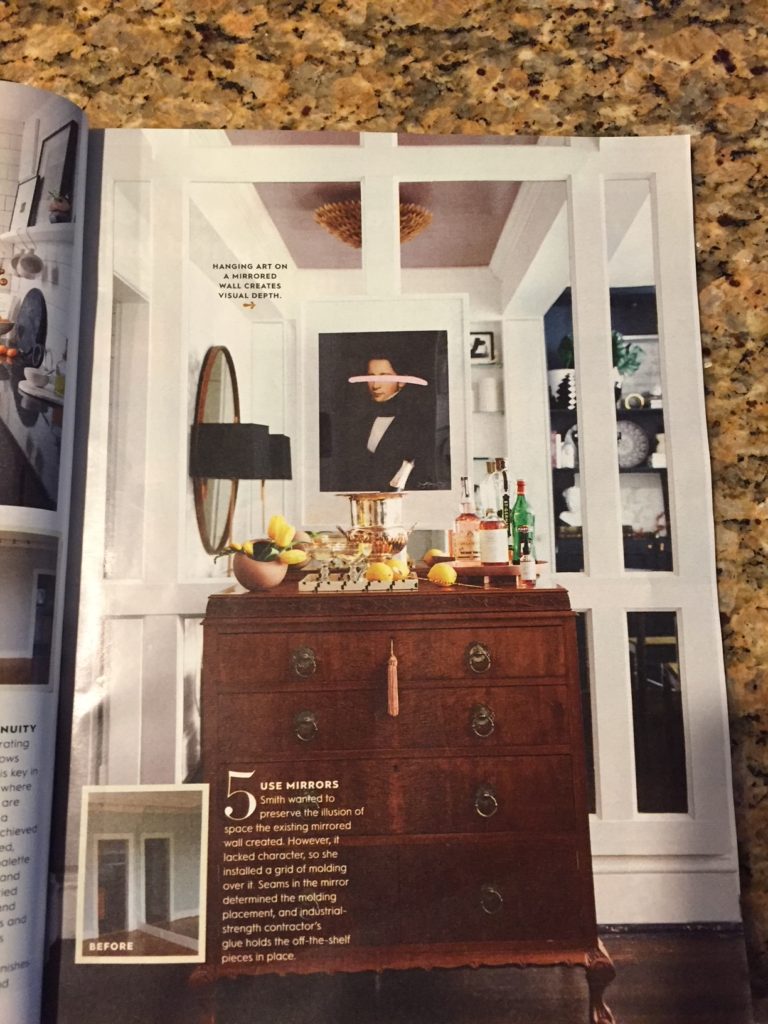
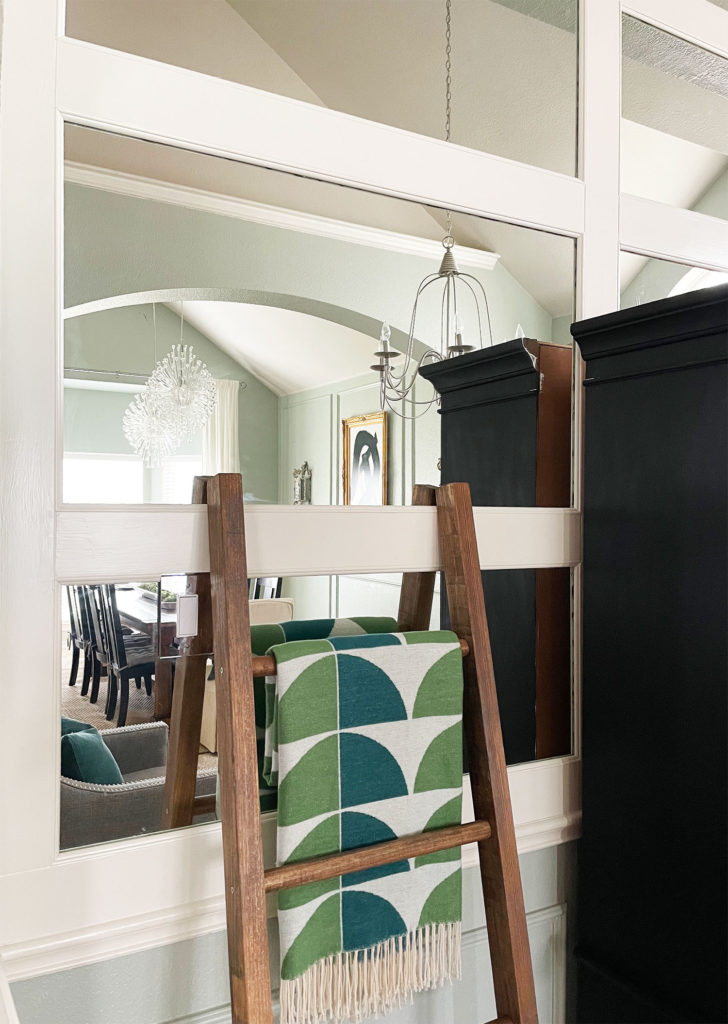
Then one happy day my sister sends me a text! You will hear me reference her a lot. She sends me a ton of inspiration! My sister saw in a magazine how the oh so talented Shannon Claire transformed this space using mirrors. Shannon wanted to preserve the illusion of space that the existing mirrored wall created. But it lacked character, so installed a grid of molding over it. GENIUS!! I then found a solution to my old dated 2000 beveled mirror sitting room wall.
After a lot of research and measuring we were off to The Home Depot.
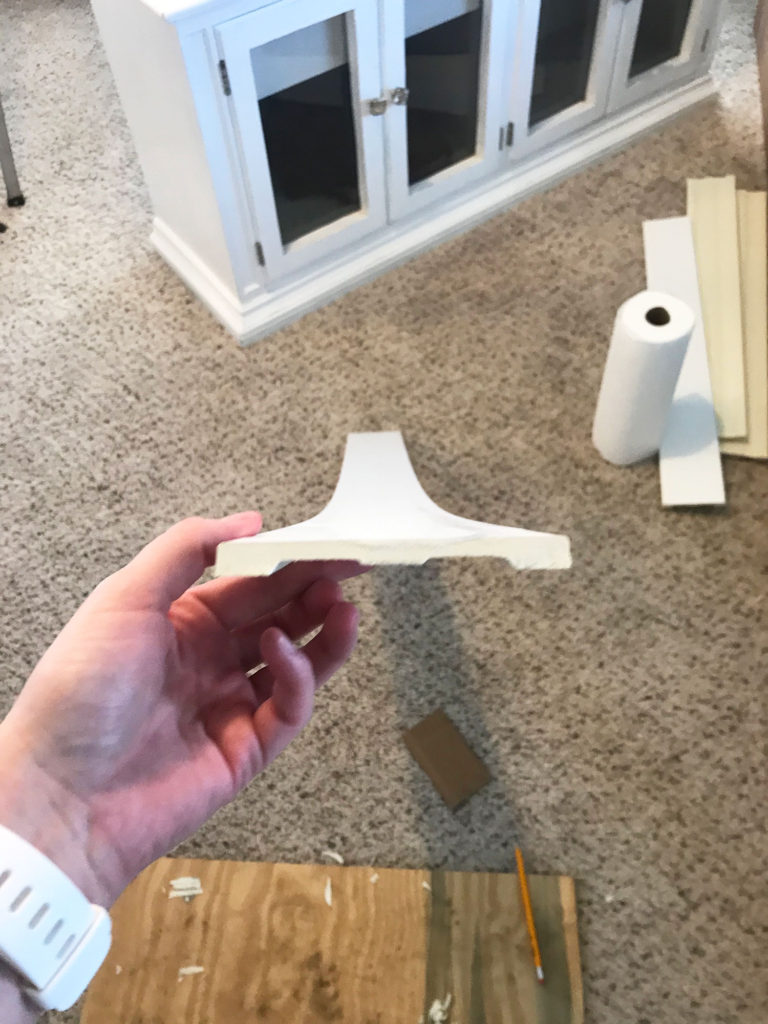
Here is what we used:
Ekena Millwork 3/8″ x 3 7/8″ x 94 Polyurethane Chair Rail Moulding
Crown Moulding Trim
Loctite Mirror, Marble, and Granite Adhesive
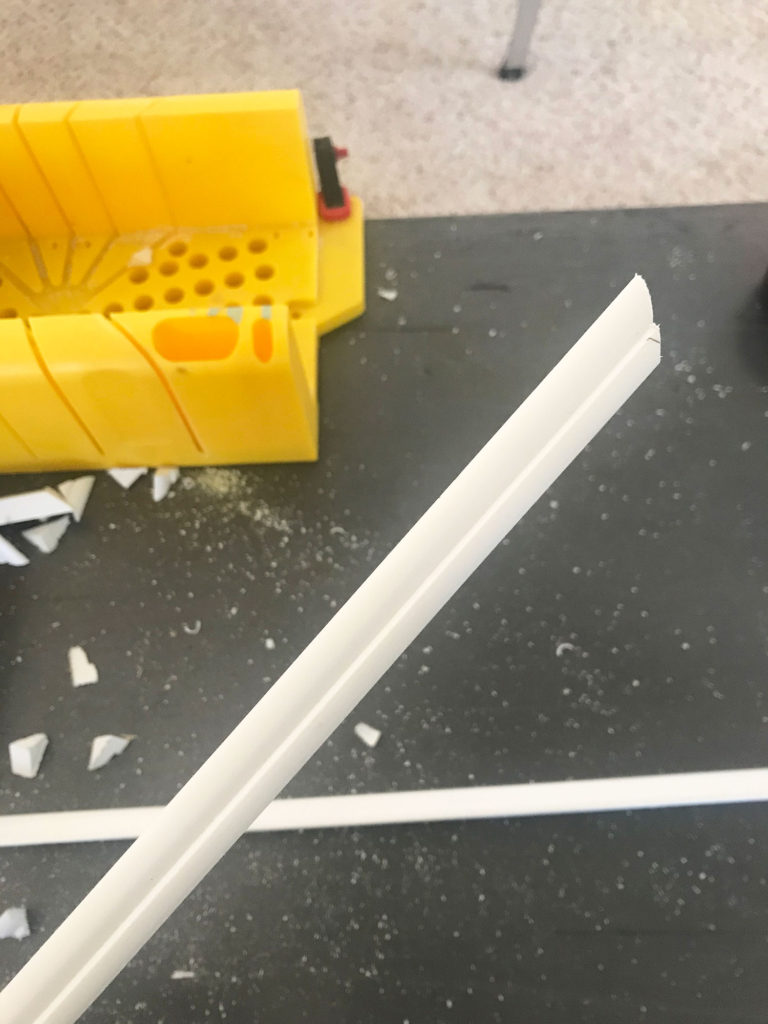
Saw
Mitter Box
Caulk
Painters Tape
Box Cutter
Paint
This project was definitely a labor of love. Not in a sense of being hard but having multiple steps. We had to really research products. You can’t just slap some wood on a mirror and call it a day! We did not want to drill into the mirror for fear of it breaking. So we needed lightweight materials and strong adhesive. Thankfully after a little trial and error we were successful.
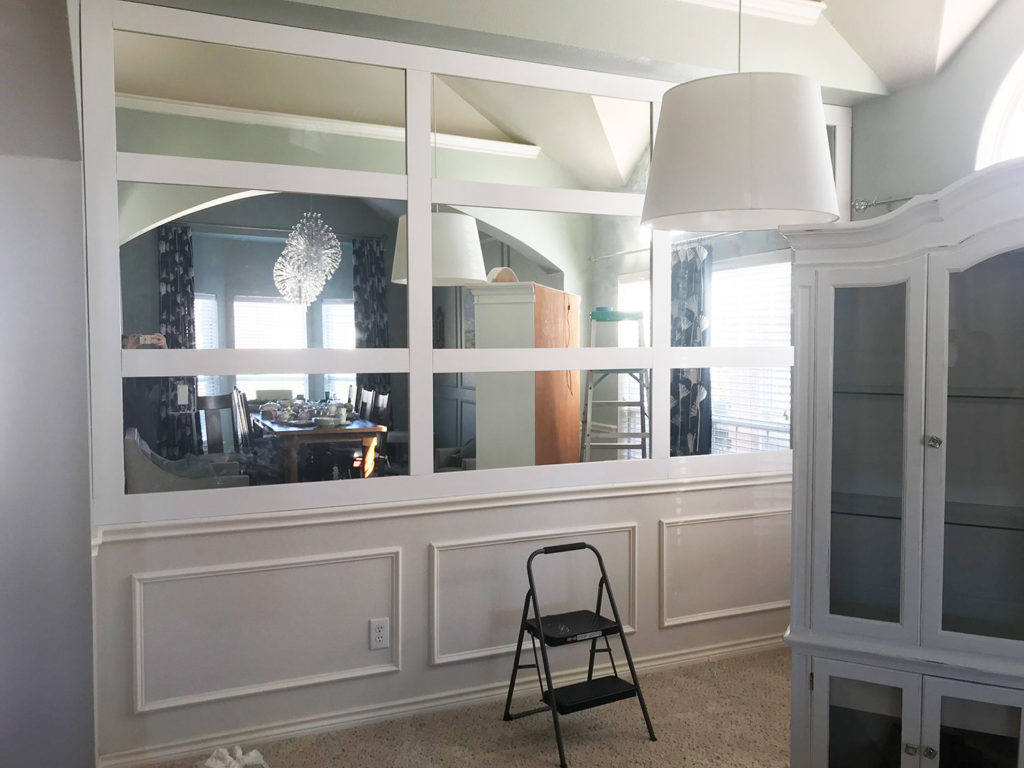
The first step in this wall mirror makeover was to remove the beveled trim mirror pieces. If you have ever worked with mirrors it’s a bit of a cringy experience. The shear sound of the mirror breaking off the wall is a terrifying yet rewarding sound! Just thinking about it makes the hair on my neck stand up! Make sure you wear gloves and eye protection. You will need it!

AFTER THE BEVEL TRIM WAS REMOVED
After all the beveled trim mirror pieces were removed it gave us a good “template” we were basically dividing up the wall in a grid format. We decided to make the top rectangles a bit smaller, keeping the center ones larger. Making them all the same size just didn’t look right.

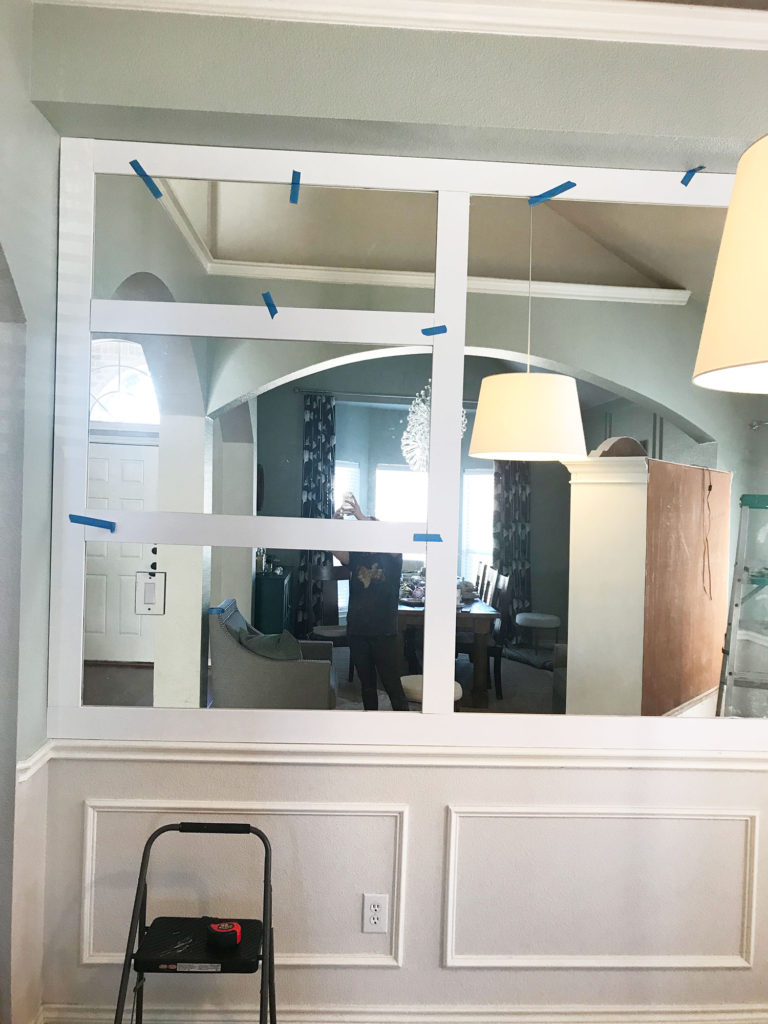
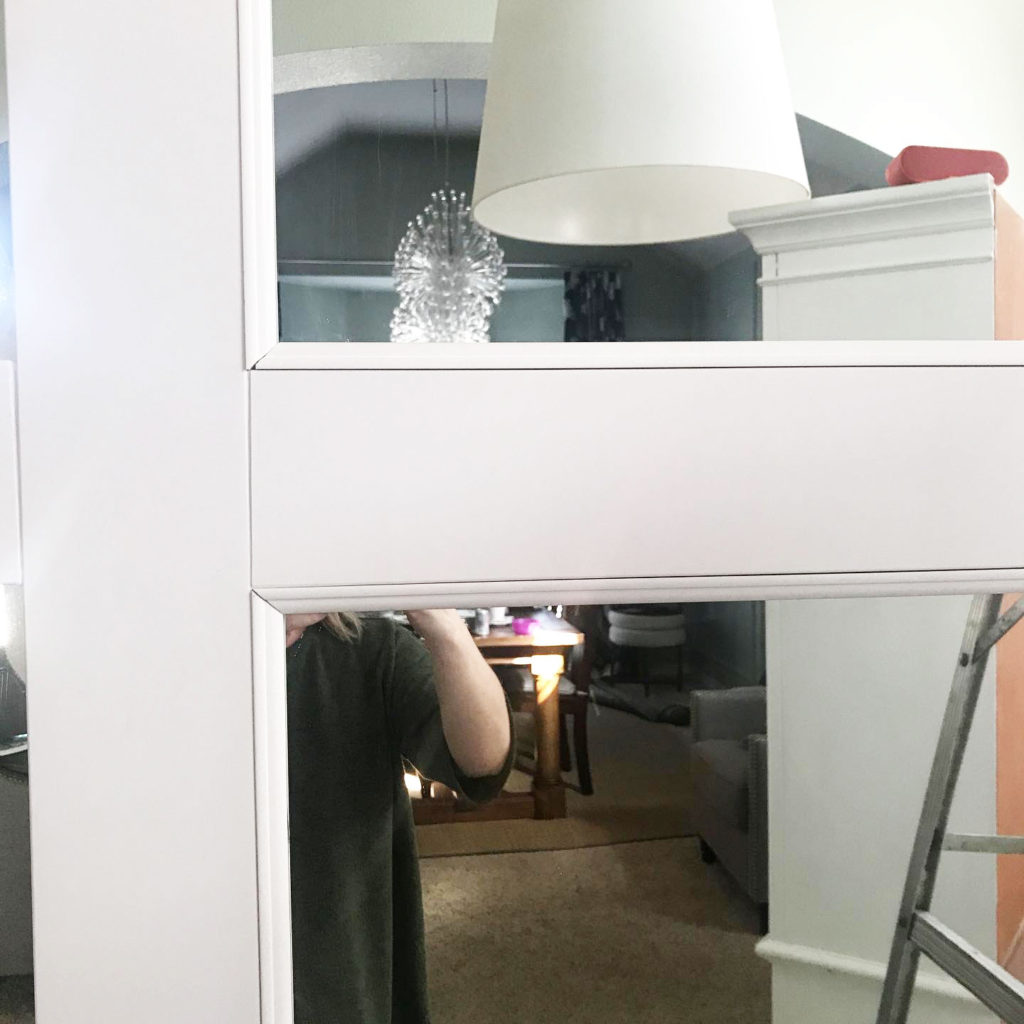
But once we figured it out, smooth sailing! Just measured and cut to size. This moulding is so light we were able to cut with a box cutter and use painters tape to “test” out where we wanted the pieces to go. Once we had all the larger moulding pieces in place we realized it was missing something. It needed some detail. That is when we decided to add the thin trim pieces on the inside edges. It made such a difference.
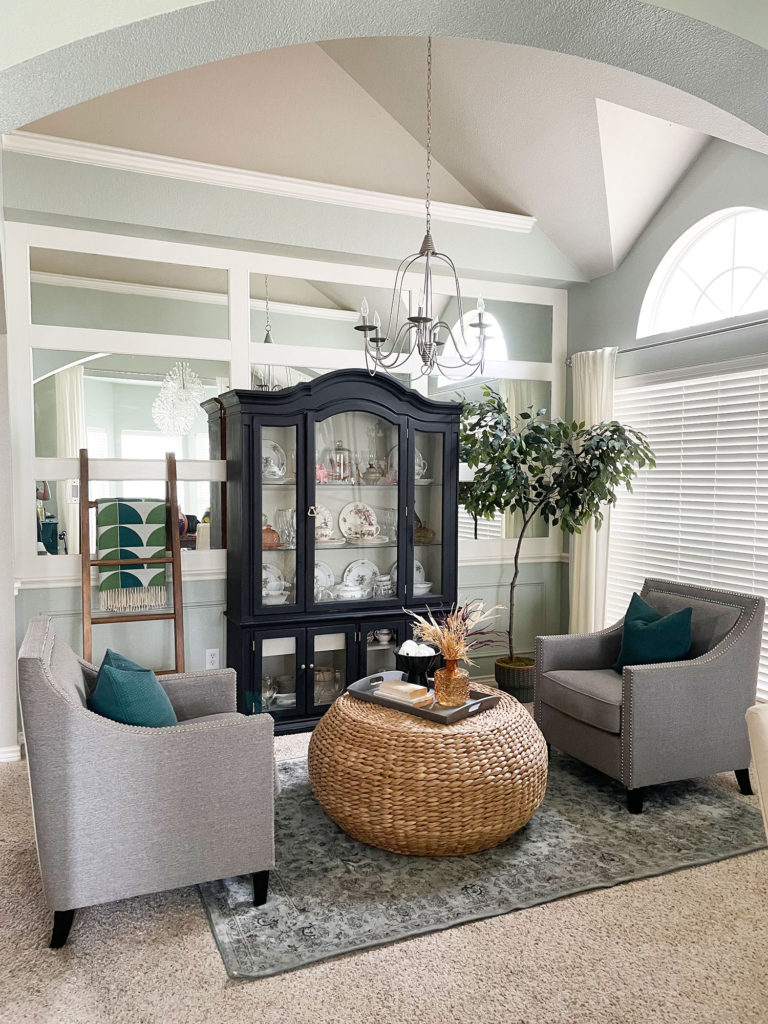
We filled in any wonky space with chalk. Gives everything a really complete finish. Last step was to paint! I used Polar White (Valspar color) in Benjamin Moore paint. I adore this paint! The color, finish, smoothness, etc. is spot on.
I really love the way this wall came out. Nothing overly drastic but definitely unique. Worth all the shivering mirror moments! I ended up painting my hutch black and swapping out the light fixture. Much needed contrast and upgrade.

I’d love to hear your thoughts! Have you ever seen a grid moulding on a mirror wall? Would you try this in your home?
If you enjoyed this makeover, check out Powder Bath transformation. Now that one is drastic!
Happy Projects!
XOXO, Ivy