This page may contain affiliate links, see full disclosure here.
Howdy my friends! Today I am sharing an affordable way to build an Easy DIY Blanket Ladder. I have wanted a blanket ladder for sometime now. But I just didn’t really want to spend the money and couldn’t find one that I really loved. So in usual manner I hit the research for the DIY route. My husband usually cringes when I say “DIY” – cause it always requires some help. He builds it, I make it pretty! Perfect partnership! 😉
I love that blanket ladders come in every design style – from farmhouse, metal, modern, even brass! And talk about versatile! You can use them strictly for decor but also work for actual blanket storage. I also seen them used in bathrooms. I am dying to make a smaller version for my kiddos bathroom. Maybe it will encourage them to actually pick up their towels off the floor.
Ok so let’s get to it…
HOW TO BUILD A BLANKET LADDER
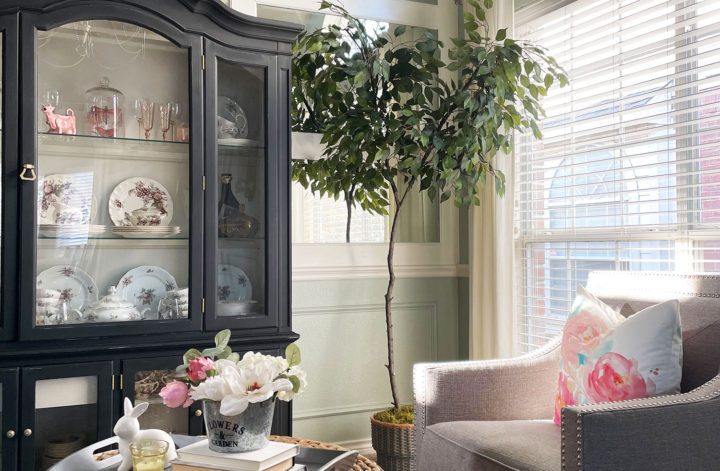
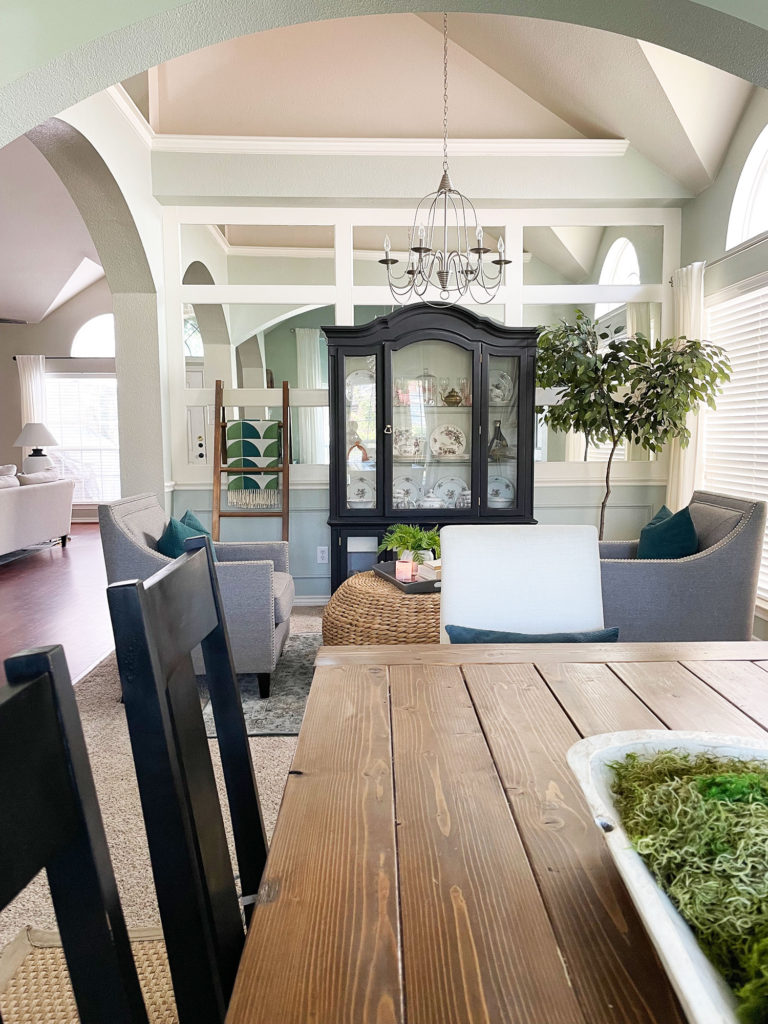
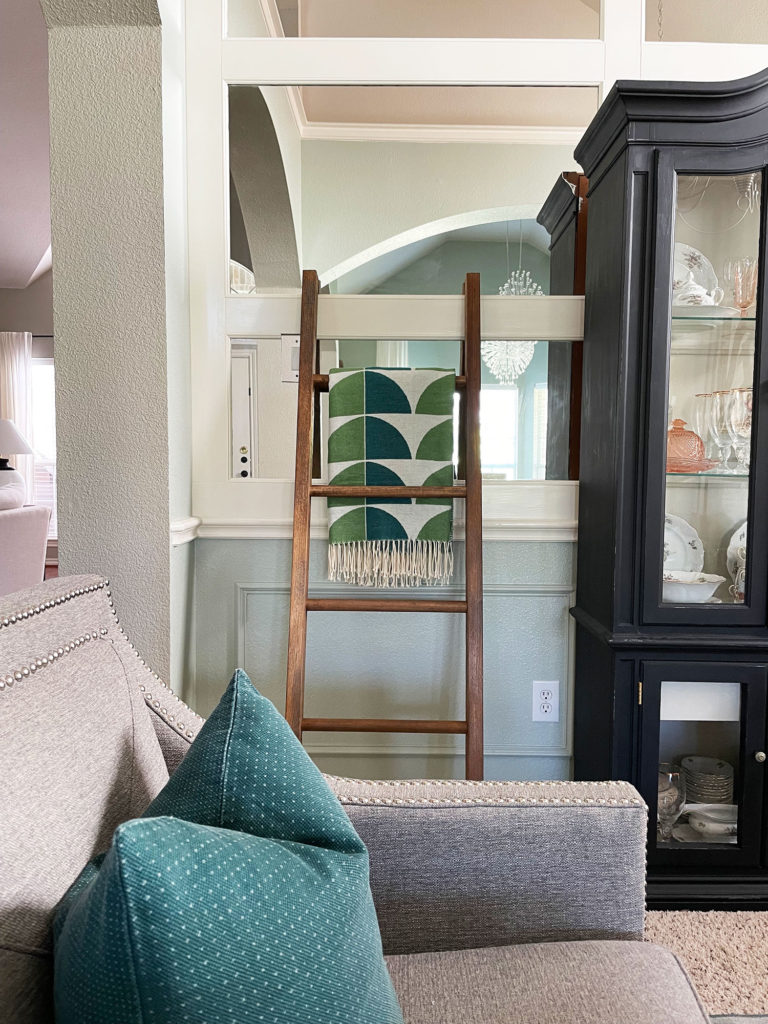
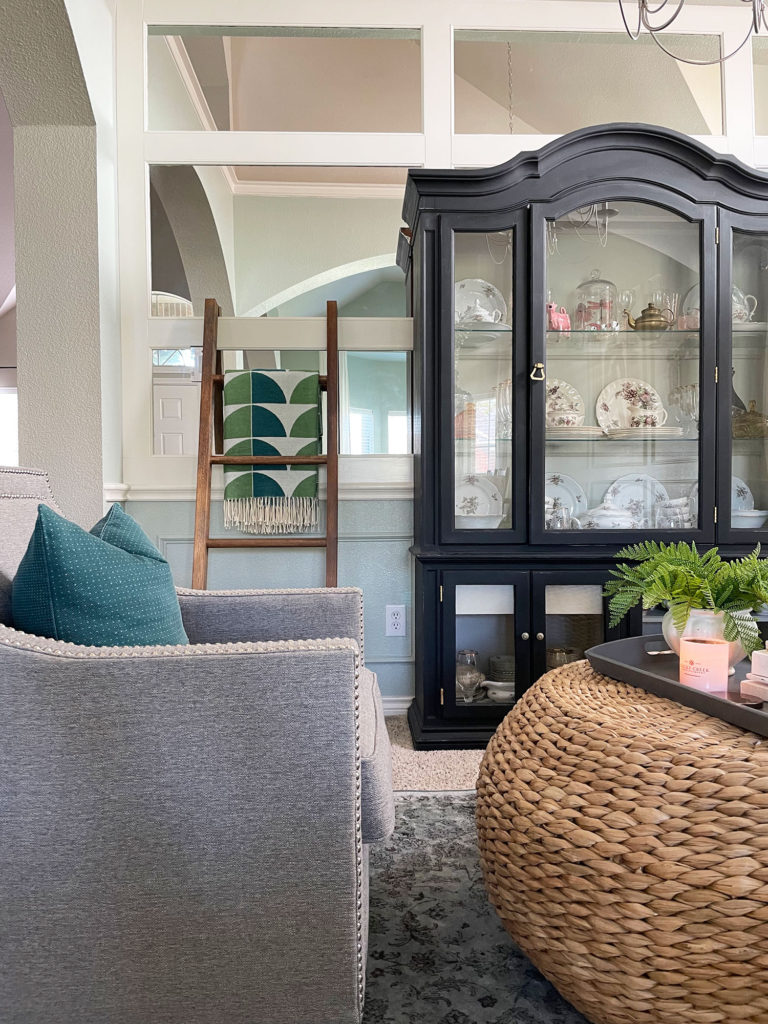
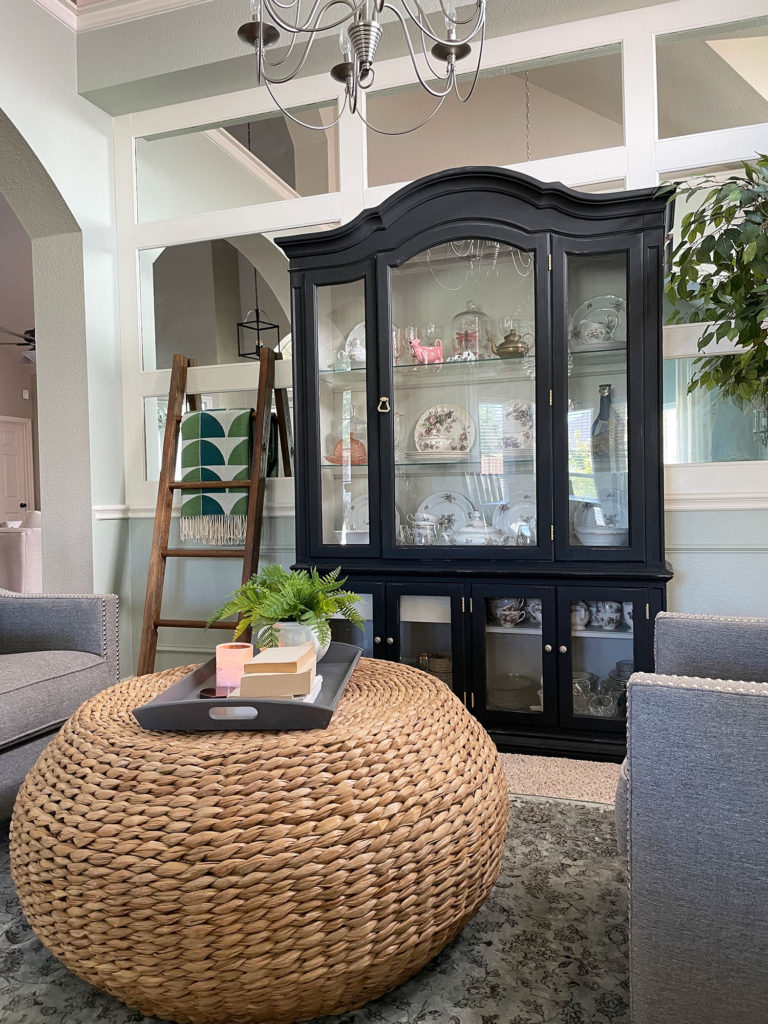
Alright, so by now you should have already found some inspo ladders. Pinterest is my best friend for inspiration. They’ve got it all! Next determine what size you want to make your blanket ladder. Mine is going into my sitting room. I have a large hutch in the center and then on the right is my DIY Faux Real Ficus Tree. Which is slightly shorter than my hutch. So I knew I wanted my blanket ladder to be a little shorter than my tree. Just so there is some visual dimension with the height variations.
Tools and Supplies:
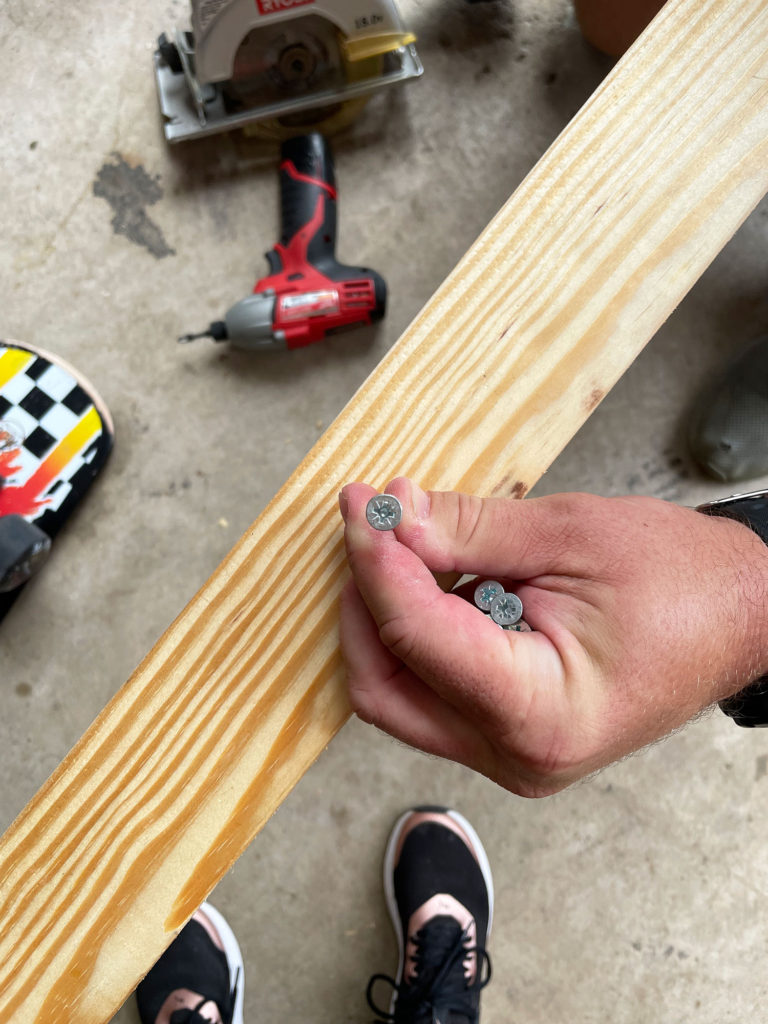
(2) 2″ x 3″ Boards
(4) 1.25″ Wood Dowel Rods
1.25″ Circular Bit
Cordless Drill
2″ Screws
Skill Saw
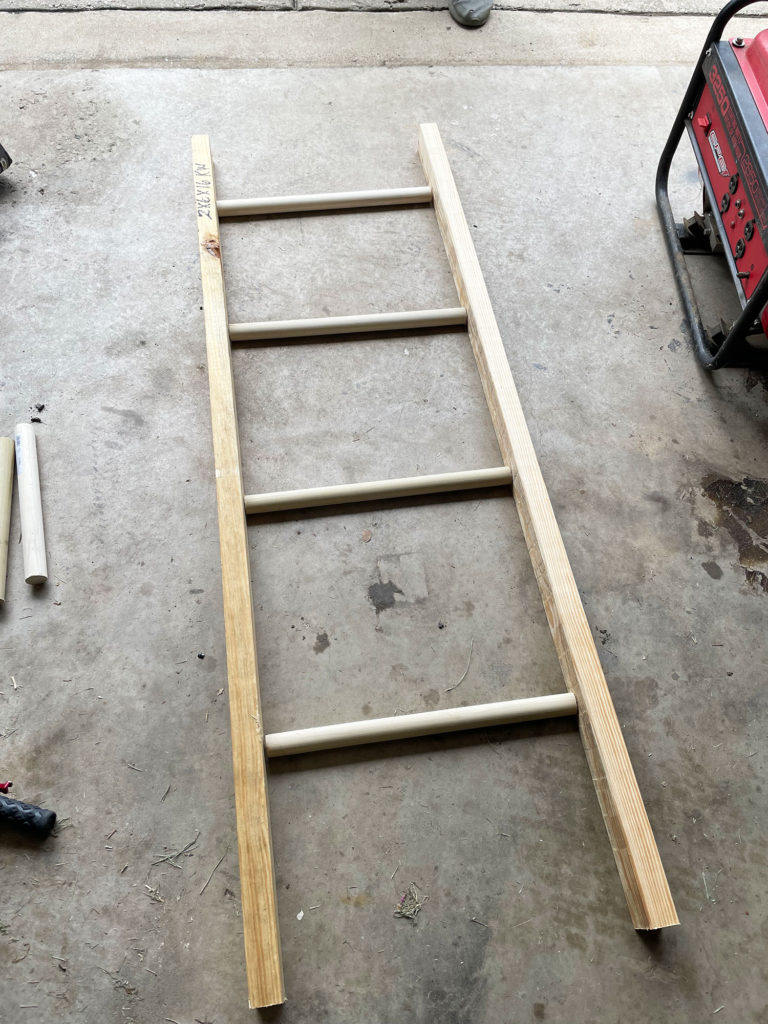
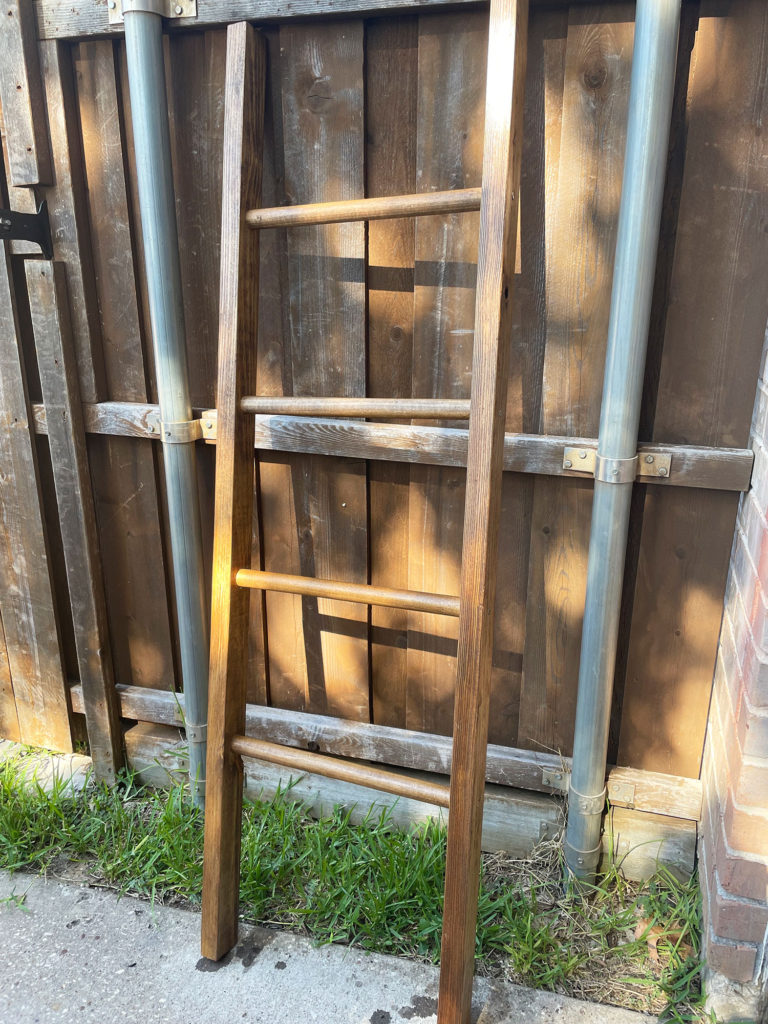
So you will need to measure your 2×3 boards to the exact height you want them, then trim the excess wood off. My ladder measures 63 1/2 inches. Then place the boards on the ground and place your wood dowel rods inside as a template. You will need to determine how far apart and how many “steps” you want. I only ended up using (4) 1.25″ rods. Measuring 12 inches apart.
Decide how far apart. 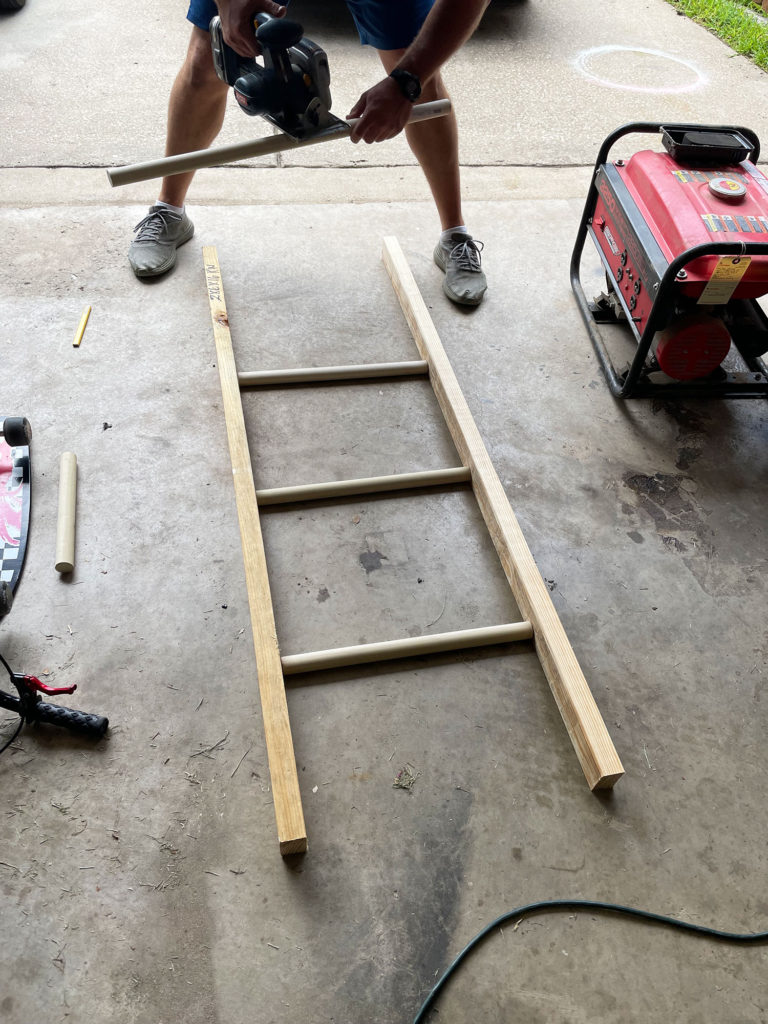
Then cut your rods to size.
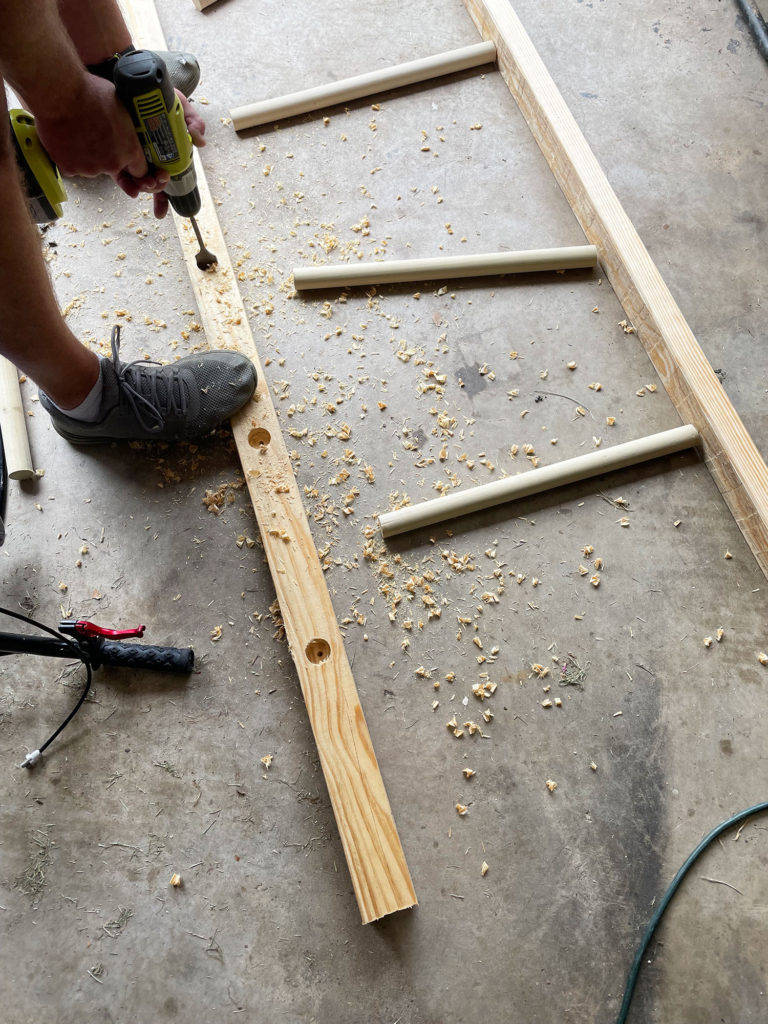
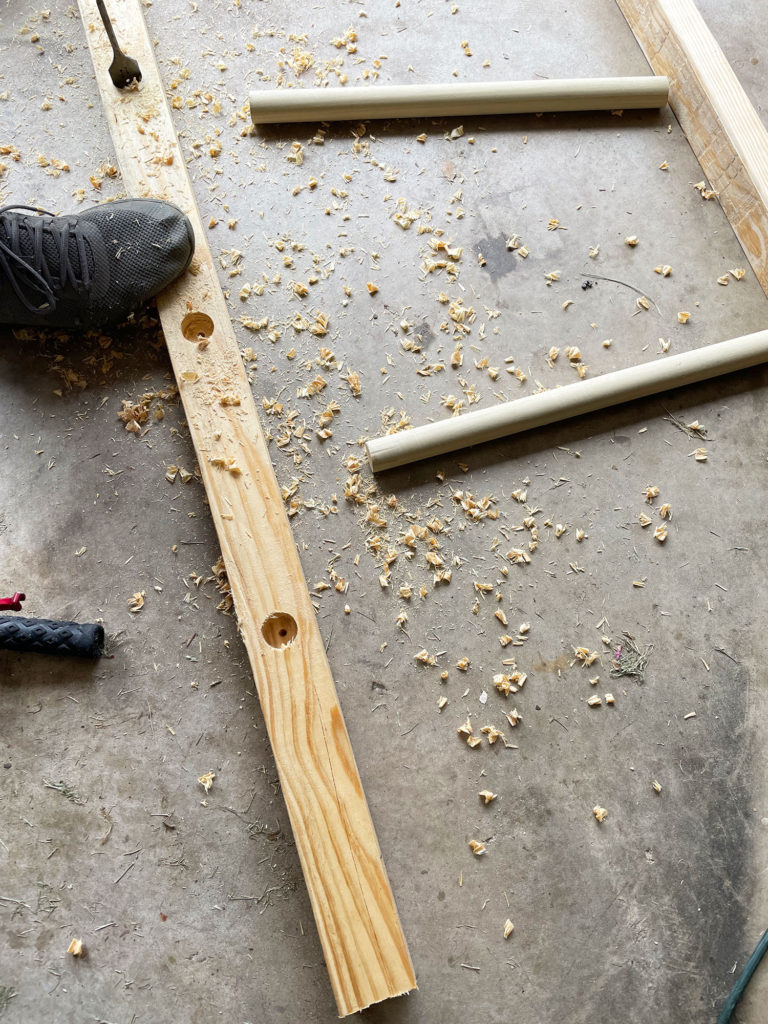
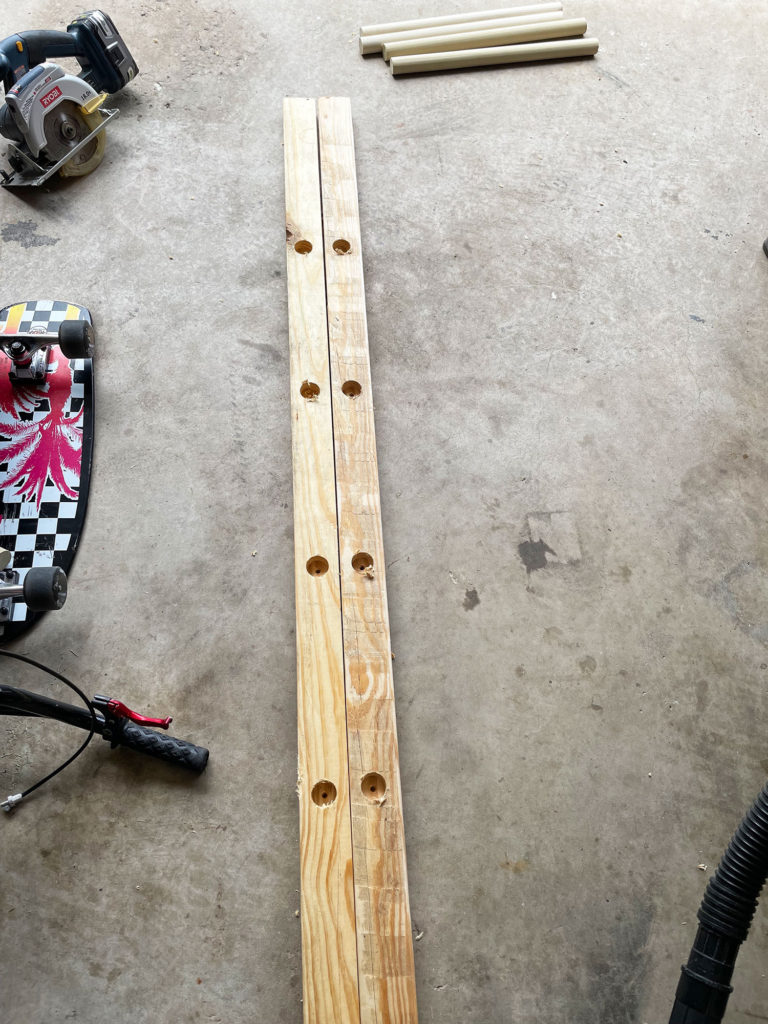
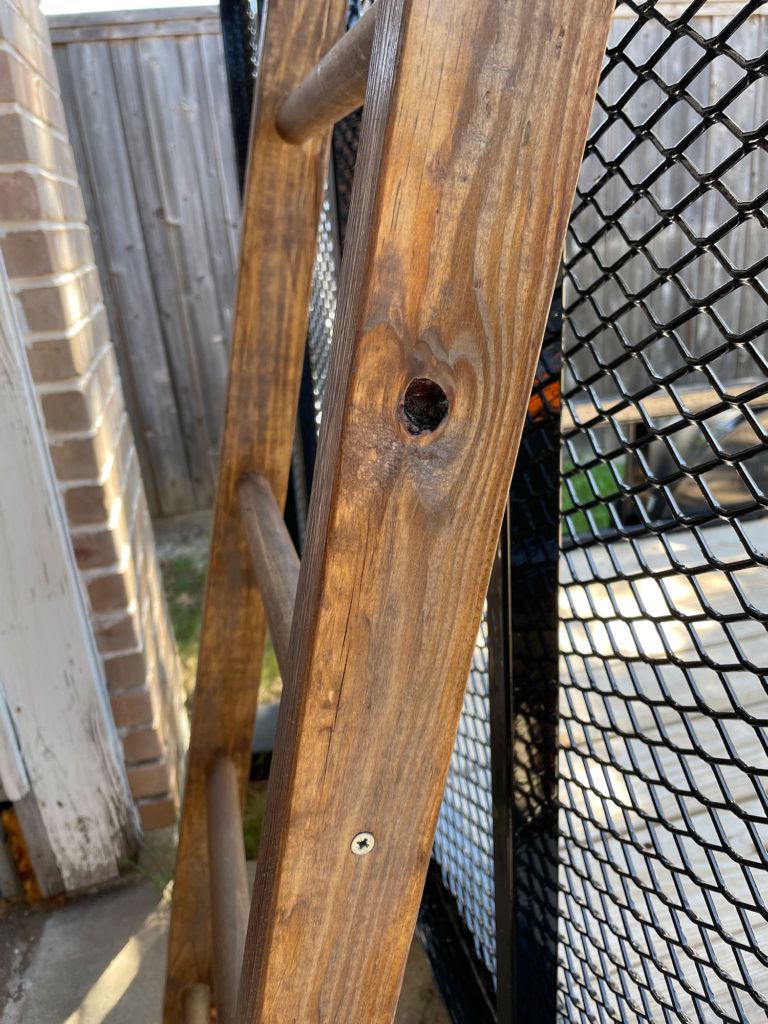
Then using your circular saw, drill about 1/2″ or 3/4″ deep holes. Just enough for the rods to be pushed inside. Drill both boards. I used a shop vac to clean up the wood shavings. Make sure both boards are clean. Then push your rods into the holes. To make this project even easier you would use wood glue to secure the rods in place. However, we decided to drill in 2″ screws on the outside of the ladder to secure the dowel rods in place. Just to make it a bit more sturdy.
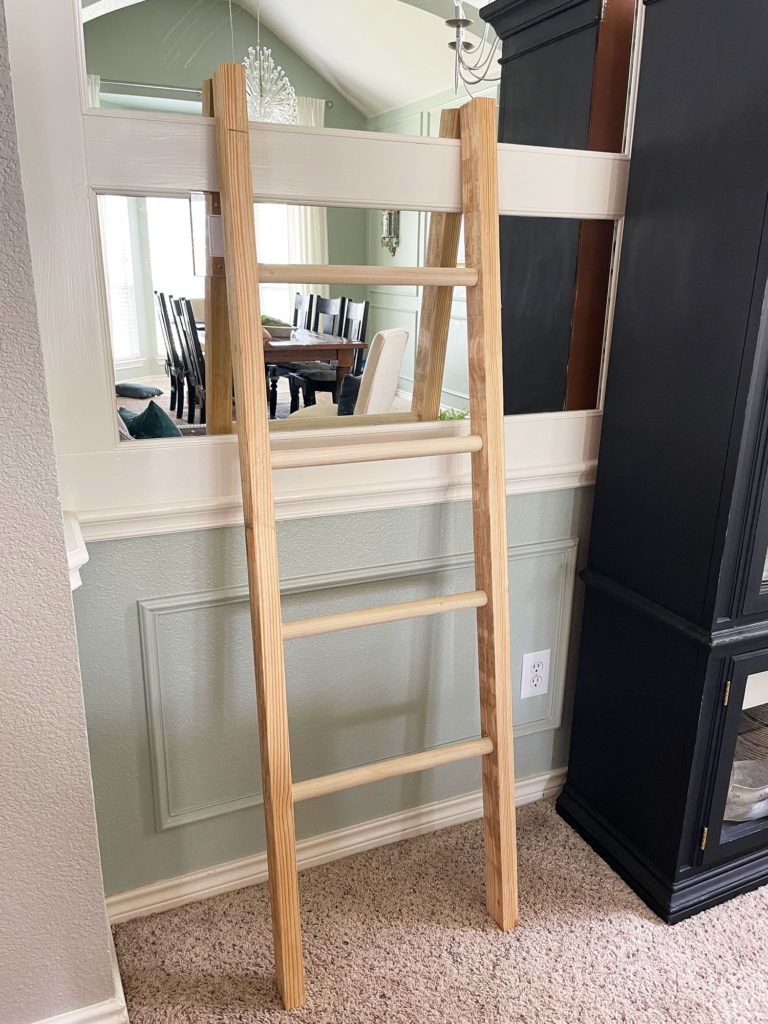
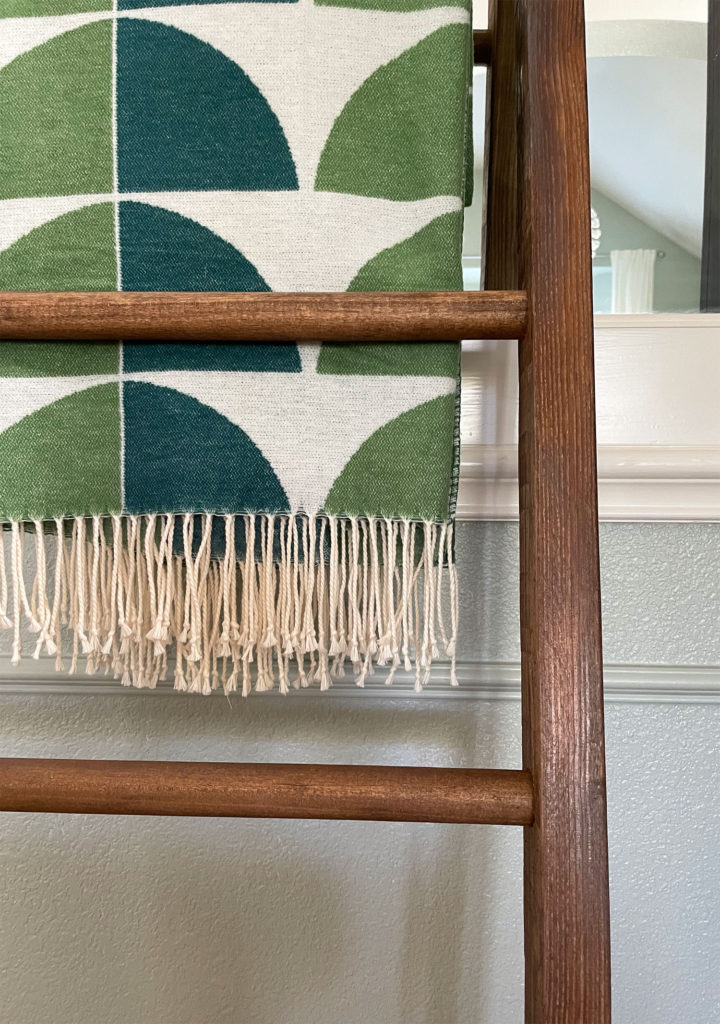
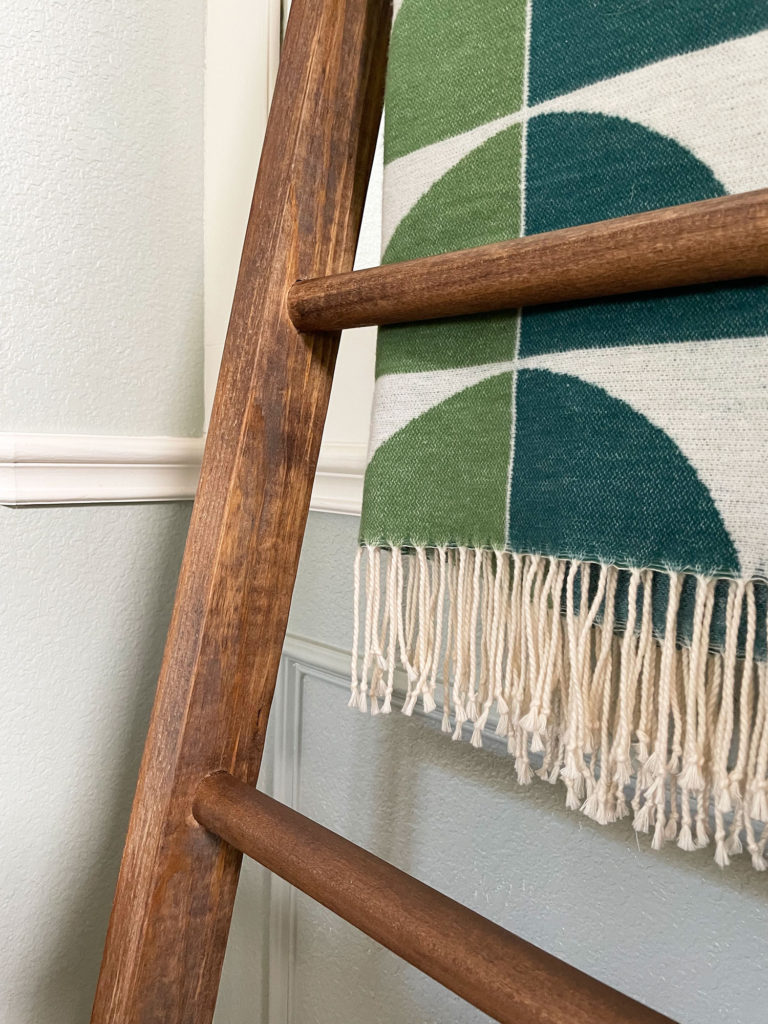
And there you have it! Your own Easy DIY Blanket Ladder! Now depending on whether you are going to either paint or stain it, a light sand is always a good idea. I am going to stain mine. I have a stain blend that I have used for several projects in my house. It’s layering of two colors that create this beautiful honey color.

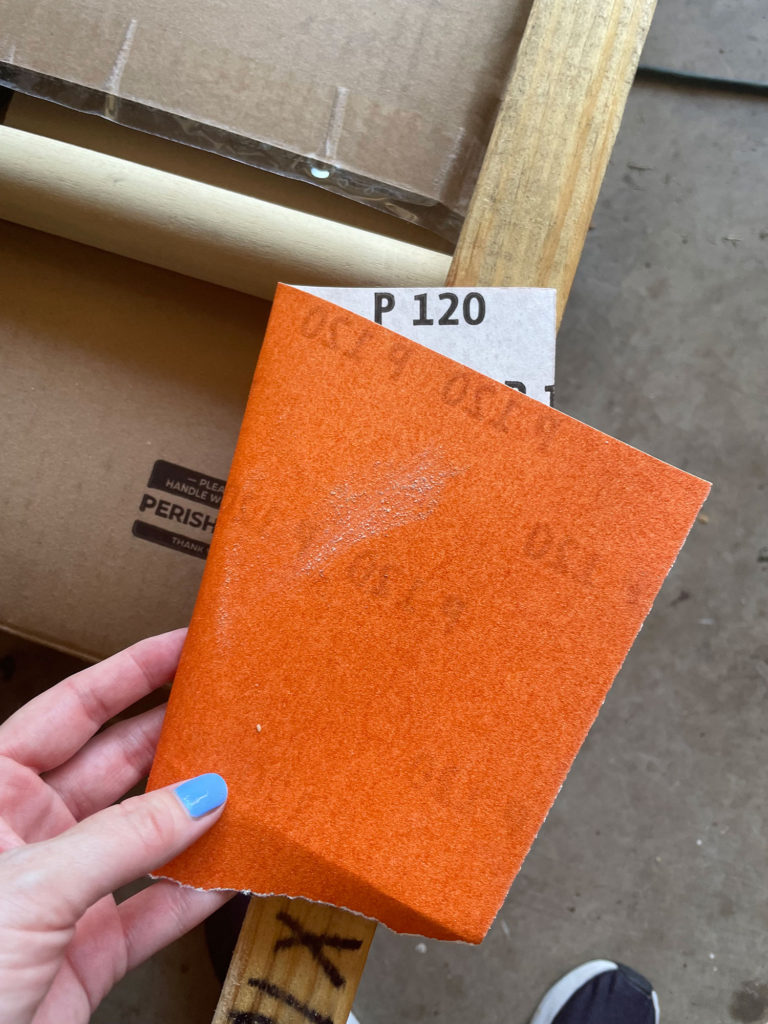
Ok so before you start staining or painting, make sure your ladder is nice and smooth and dust free. I highly recommend using a Pre-Stain Wood Conditioner. It helps to help prevent streaking and blotching. It dries very quickly so it’s not adding a huge step.
So I have sanded, cleaned and applied my wood conditioner and it’s completely dry. Now it’s ready to add my first layer of stain. I am using Minwax Special Walnut. It is such a pretty color. Goes on pretty light and ends in this warm toned honey color. I just use a rag and apply away.
First coat is on! 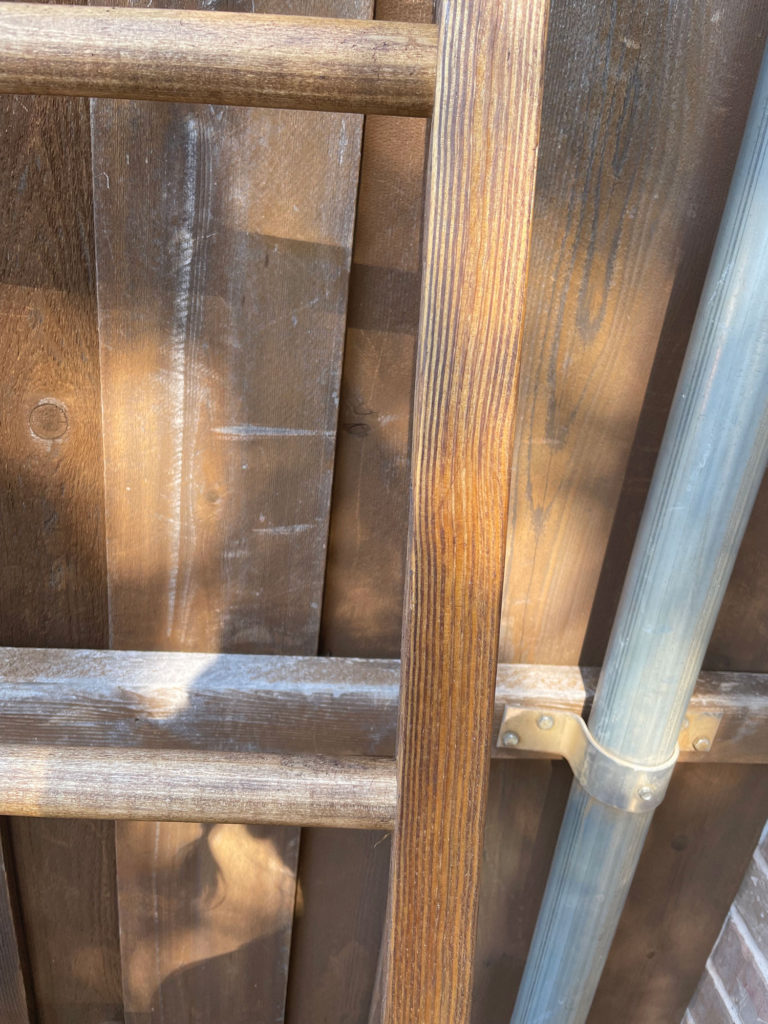
Great coverage but you can still see the wood grain behind.
You will want to allow the stain to fully dry before applying another coat if you prefer it to be darker. I love this stain because it dries very quickly. Well and I am in Texas and it’s blistering hot. So pretty much everything dries quickly! 😉
Second coat is on. 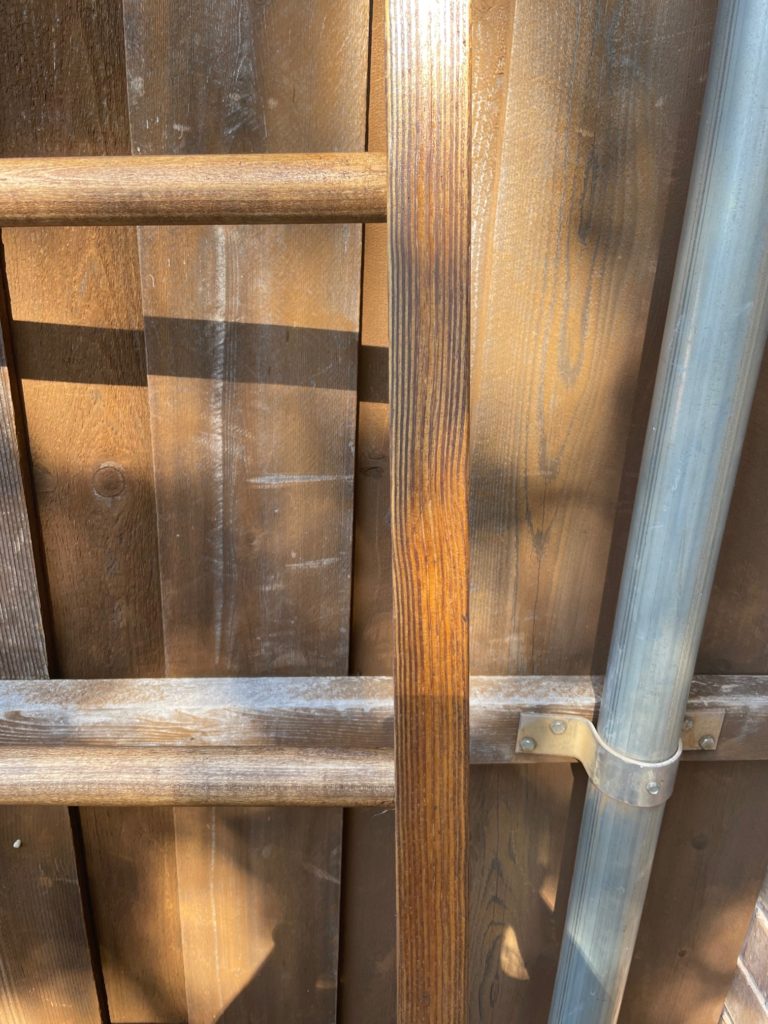
We are almost there!
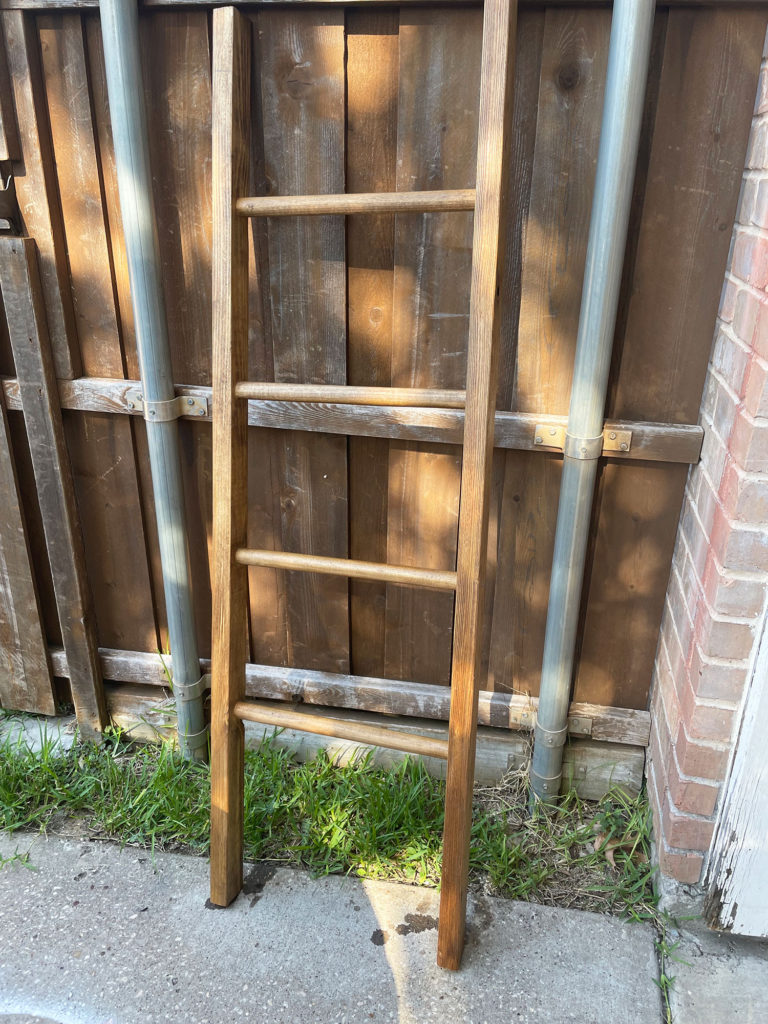
Alright, two coats of the Special Walnut have been applied. I think it’s so pretty except I want just a bit more depth. Next I am going to use this Rust-Oleum Weathered Gray Wood Stain. This is a very gray stain. So I only use a little bit. Using a rag in one hand I apply and with the other hand I wipe off the excess to achieve the right amount. It adds just the right amount of gray or contrast that I am looking for.
After that I applied just one coat of the Varathane Polyurethane in Satin. Now if this was a table or chair I would apply at least 2-3 coats. But since this will literally just sit here looking all pretty and untouched, I didn’t think it was necessary. I love the way it turned out. It’s the same wood tone as my dining room table. I can’t wait to get this all styled for fall!

This was one of the easiest DIY projects we have done. Like zero hiccups which is pretty darn rare! This total Easy DIY Blanket Ladder project, including stain was less that $40!! You can’t beat that my friends! I hope you get out there and build something this weekend. Perhaps a blanket ladder! 🙂
Happy Projects!
XOXO, Ivy